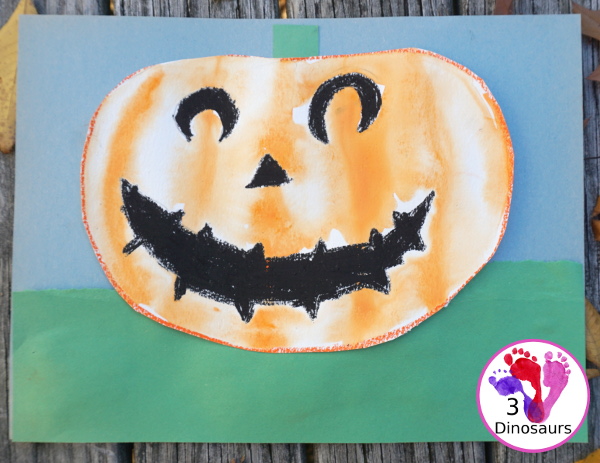
Watercolor Process Art Jack-O-Lantern
We love Jack-o-Lanterns. They are always a fun part of Halloween for us. For years I could not get my girls to carve a pumpkin to save their lives! It was just not happening.
So we started the tradition of doing a pumpkin of some kind jack-o-lantern at home that was not carving. We have kept that up over the years. I love to see how fun they are to have them hanging around the house.
This is a fun watercolor process art. That means that I give some directions and tell them what we are doing but not what it should look like. It is fun to see have their watercolor jack-o-lanterns turn out.
One of our favorite books for Halloween with Jack-O-lanterns is Pete the Cat: Five Little Pumpkins. There are many 5 pumpkin books you can read but this one is just fun. And it is Pete the Cat!
I also love that this is fun and different ages can do it with different results!
Plus this painting is a great addition to the Halloween Actvities on the site.
What you need for the Watercolor Process Art Jack-O-Lantern
- watercolors
- watercolor paper
- oil pastels
- construction paper: Blue & Green
- glue
- bowls of water
- pencil
- scissors

How you make your Watercolor Process Art Jack-O-Lantern
I love giving them suggestions and letting them decide what they want to do. You can give as much or as little direction as you want with these art projects.
We started off by drawing the size we wanted our pumpkins to be. They can be big or small. If you have a small child you can always make a template for them to trace.

Then next you draw in pencil first the face you want and then color the face in with black oil pastel. You can use yellow for this if you wanted. We choose to use black for ours. But I did have the yellow handy if they wanted it.

You outline your pumpkin in orange oil pastel. They trace the pencil mark they made at the start.

You take a brush and clean water. You dip a brush into the water and then paint the area inside the orange line. You cover the whole pumpkin with water. You can see almost a little bubble where the water rests on it. The oil pastels keep the water inside your pumpkin.

The next is the fun part. We put orange watercolor on our brushes and then drew lines down the pumpkin. You can have fun watching the watercolor spread in the water. It is fun to see how every line is different. After we finished with our lines we carefully moved our pumpkins aside to dry. They may take a few hours to dry.

Next, we made the background. We use construction paper for this. We use a blue for the main part and then tore a green to make the grass our jack-o-lanterns set on. They got to choose how much grass and sky the background would have.

We glued the green paper on the blue. It makes a nice grass and the sky feel to the craft.

We cut out our pumpkins. We use the orange line as to where we should cut it. This is fun to see how the pumpkins look after they are dry. You can see where the color mixed in the water.

Finally, we made a stem to go on the top of our pumpkin. We glued it to the back of the pumpkin. Then we put glue on the rest of the pumpkin to glue onto the paper.

Check out our final Watercolor Process Art Jack O Lantern
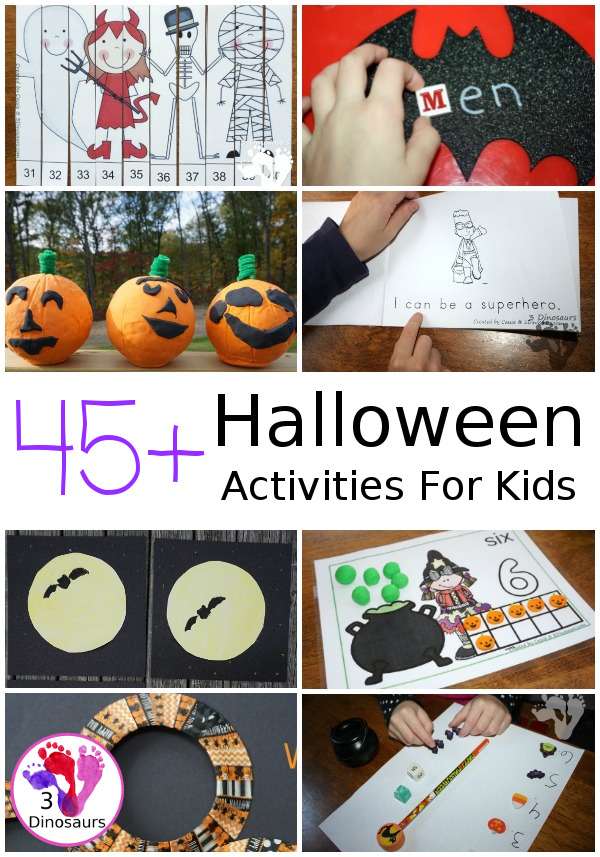
Check out these other pumpkin activities:
Be sure to check out all the Halloween Activities & Printables on 3 Dinosaurs.
Cassie – 3Dinosaurs.com


