Viking Ship with Viking Ships at Sunrise
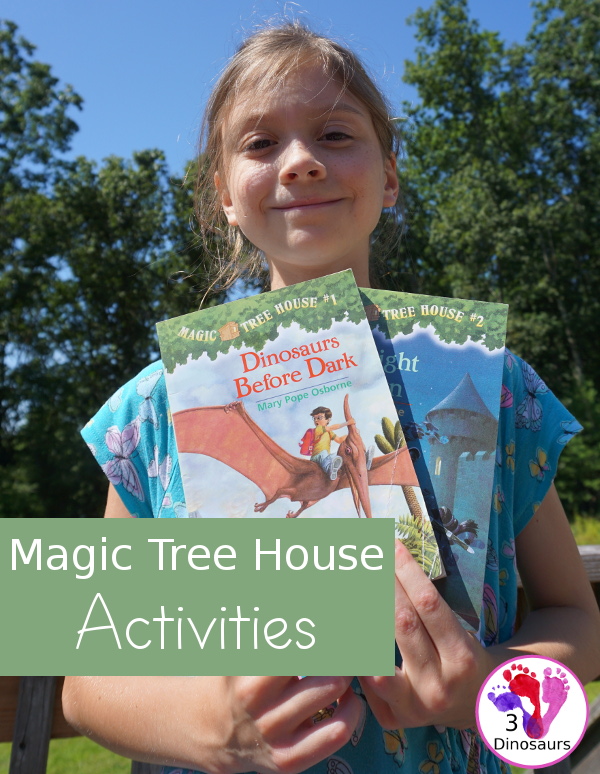
I love the bits of history that the Magic Tree House books have for kids to learn with. This time we got to travel to the time of Viking and monks.
We love reading about the Vikings and the books of that time. We decide that one of our activities was going to be making a Viking ship.
Today I’m showing you how to make our Viking Ships.
The Viking Ship is a great addition to the Magic Tree House Activities on the site.
We have included links to some of the products and resources we have used with this activity. If you purchase via the links we may earn a small commission.
This week’s Magic Tree House Books are Viking Ships At Sunrise (Magic Tree House, No. 15) and Vikings: A Nonfiction Companion to Magic Tree House 15: Viking Ships at Sunrise (Magic Tree House (R) Fact Tracker)
.
This is part of a series where the kids are looking for stories from the past. They are trying to save them. I love how each story is different and a fun part of learning.
We get to explore Ireland. This is around the time of Vikings and their raids on the land. It is also when monks made wonderful books with great details. You can explore both of those areas after reading the book.
We loved the look of the Viking ships! And that is what our craft is today! A great Viking ship on the ocean.
What you need to make the Viking Ship Craft
- paper plate cut into a curve
- watercolor paper
- brown pipe cleaners
- red construction paper
- glue
- dot marker
- dot marker
- watercolors
- glue
- tape

How to Make the Viking Ships
We started by dot marketing blue on the bottom of the ship. This was to show where the water would be on the ship. We used teal and blue colored dot markers for this.

Next, we used a brown dot marker and colored the rest of the ship brown. The next of the colors on the paper plate will make the boat look like it is in the water.

Then we used a big paintbrush and paint water over the area of the sky. This helps with blending colors on the paper easier. It is one reason we use the watercolor paper.

Then we painted the sky with a mix of light blue colors. It was easy to blend the blue colors since the paper had some water on it.

We used the dot marker for the ocean. I love the mix of the two colors to make the ocean look like it is moving a little bit. We put the paper aside to dry after we finished with the dot markers.

Each of the pipe cleaners was just cut in half. Then we curled the pipe cleaner. You can do it around your finger or just bend it to a curl.

Then we glued the paper cleaner on the boat. We made sure to have to curl at the ends. You can also tape it if you don’t want to wait for the glue to dry.

Then we glued the mast on the ship. This is another pipe cleaner but in half. You can also take this one as well.

We then taped on the sale to the mast. And the making of the ship was complete after that!

We put glue along the edges of the boat. We made sure to cover all of the outer edges of the paper plate.

Then we glued our ships on the paper. If your ship happens to start coming off you can always put something on it to hold it down.

Then we clean up. I get asked how we get the paint and markers off the table and we use a magic eraser. It cleans up the mess easy.
A look at our final Viking Ships


Also check out these Magic Tree Activities:
Building a Volcano with Vacation Under The Volcano
Polar Bear Sorting Nouns & Verbs with Polar Bears Past Bedtime
Giraffe & Lion Painting with Lions at Lunchtime
Wild West Noun & Verb Sorting with Ghost Town at Sundown
Model of the Phase of the Moon with Midnight at the Moon
Amazon Rain Forest Theme Gross Motor With Afternoon in the Amazon
Be sure to check out all the Magic Tree House Activities.
Cassie – 3Dinosaurs.com


