Shark Cookie Cutter Painting with Q-Tip & Watercolors
We love shark week and it is always fun to do new shark projects for it! Today we have a simple shark painting that kids can do!
You can easy to follow steps plus you are using a cookie cutter to make it easier!
And you will have a wonderful shark painting for kids!
We have included links to some of the products and resources we have used with this activity. If you purchase via the links we may earn a small commission.
This is s great addition to the shark activities on the site.
It is always fun to do new painting activities. This shark painting with cookie cutters is so much fun! Plus there are so many great shark books you can read. We have enjoyed The Ultimate Book of Sharks. It has so much you can learn about sharks!
This shark painting project is a great mix of watercolor and painting with q-tips and cookie cutters.
What you need to make your Shark Painting
- watercolors
- watercolor paper
- large paint brush
- black washable paints
- paint tray
- q-tip
- shark cookie cutter
- small shark cookie cutter
- pencil
- The Ultimate Book of Sharks

How we made the Shark Painting
These are all the steps we used to make the shark cookie cutter painting. You can also find suggestions for changing this up for different ages.
Draw a Circle in the Center of the Watercolor Paper
You start by drawing a circle in the center. This is super easy this is the area we will leave white.
Now if you have younger kids you might want to draw the circle and do several of rings out to make the colors of blue in the watercolors.

Watercolor Paint with Shades of Blue Paint
You start painting outside of the circle that you draw. You start with the lightest watercolor blue for the first.
You can see how we kept outside the circle in the middle

Then you work out and adding the different colors of blue. If you have younger kids you can draw a circle mentioned above for where the different colors of blue go.

Also if you are worried about painting the table you can put paper under the painting. But I’ll tell you we use a magic eraser to clean up the paint.
Paint the Black Sharks on the Paper
You place the shark cookie cutter on the paper. You can start with the big or small cookie cutter. It does not matter which you do first. You want to make sure to hold it as still as you can.

Then you use the q-tip to paint inside the cookie cutter. I love the q-tip for the fine motor they get.

You can see how fun the shark looks after you paint it.
A fun tip is that is the shark does not look all filled out you can do a touch up paint after you remove the cookie cutter.

Then you move on to the next shark! You can put as many or as few sharks as you want!

Other Shark Ideas Without Painting
If you love the sharks but don’t like the idea of using cookie cutters. Check out the ocean animal craft with free templates. It has a great shark template you can print off and use. Plus a few other ocean animals as well.
A Look at the final Shark Painting
Check out these other Shark Activities
Shark Fin Painting with Cookie Cutters for Kids is a simple painting activity with shark fins.
Shark Water Bead Sensory Bin is great to learn the match different sharks and then learn where the sharks are in the ocean.
Shark Shape Matching Puzzles has 12 matching puzzles for kids to use.
Shark Dot the Number Count the Number is a great way to count from 0 to 20.
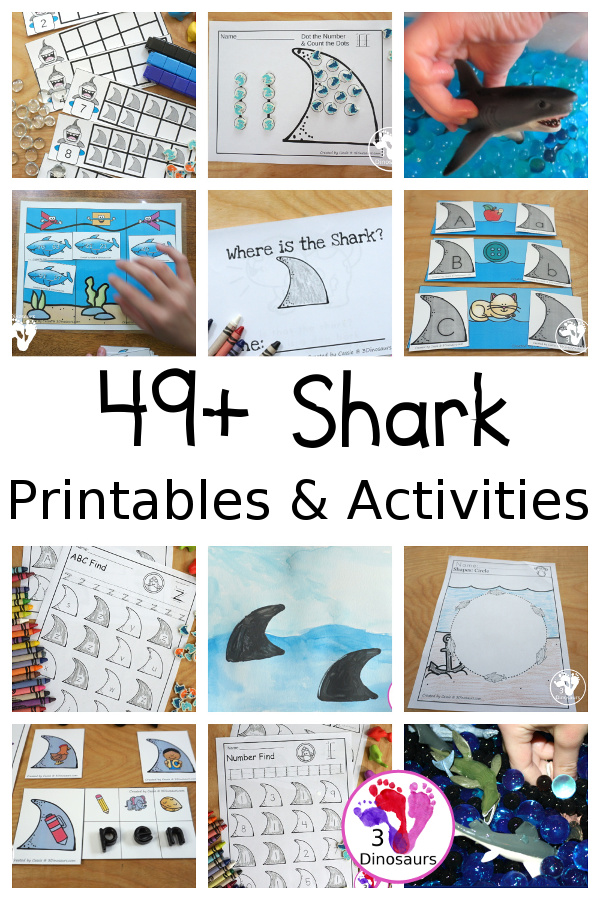
Check out all the fun Shark Printables & Activities on 3 Dinosaurs.
Cassie – 3Dinosaurs.com


